Recorded lessons are crucial in today’s educational environment. Reports show that the number of students attending virtual schools has surged over the last 10 years with nearly six million now receiving an education online. Additionally, the number of adults pursuing a higher education online has skyrocketed. At the same time, traditional brick-and-mortar schools are increasingly using recorded lessons and other online resources in their curricula.
Lesson recordings offer students a range of benefits. They allow students to watch, and rewatch, educational materials as many times as necessary to fully grasp their lessons. They also give students the flexibility to watch content on their own time. They’ve been found to hold students’ attention better than written materials and live lectures as well. If you’re interested in recording educational content, though, it’s important to use the right measures to make your videos as effective and enthralling as possible.
Get the Right Tools and Equipment
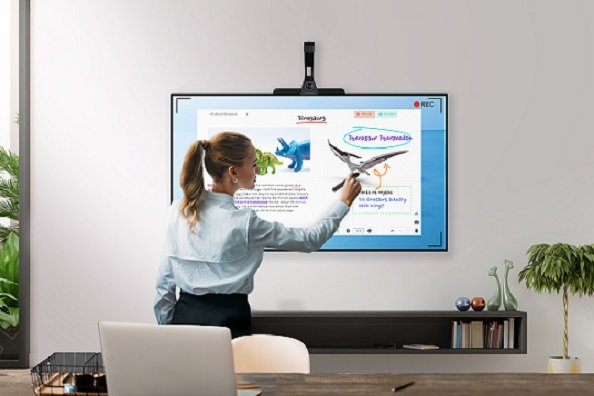
First of all, you’ll need to get the right tools and equipment to create your recorded lessons. Your laptop’s built-in camera and microphone will technically work for recording lectures and adding content, but they’re just the beginning. Using a high-quality external microphone is recommended. Otherwise, your students may hear more rattling, static, and silence than actual information and instruction.
You’ll also need an encoder to convert your video into digital format so you can store and share it and your viewers can play it. Both hardware and software encoders are available. Software encoders run off of your computer’s CPU. They can offer more flexibility, but they’re less reliable, and they may bog down your computer. Hardware encoders offer better performance without draining your computer’s processing power, but they’re not always as flexible. Your laptop may already have a built-in hardware encoder. If not, you can purchase a standalone device.
A content management system is also essential. It’ll allow you to store, organize, and distribute your recorded lessons. It’ll also provide tools for ramping up your recordings by adding slides, overlays, animations, background music, and interactive elements. You may need to use a learning management system as well to make your lessons available to students, track interaction rates, and see how well students perform on quizzes and other interactive content.
Break Information Into Small Segments
How you convey your lessons is also important. People tend to process information better if it comes in small, manageable segments. As such, be sure to introduce one concept at a time. Start with concise points. Then, dive into more detailed explanations. You can use the previously mentioned add-ins between segments to break up the information and help students further grasp their lessons.
Relax and Show Enthusiasm
Studies show that learners often respond better to informal instruction than to stiff, formal lectures. They also pay closer attention and retain information more effectively when educators express excitement and enthusiasm about the topics they’re discussing as opposed giving monotone speeches. When you put energy into your lessons, it’ll spread to your viewers. That applies to students of all ages.
Creating Incredible Educational Videos
Recorded lessons are integral to the world of education at this point. They can make lessons more meaningful and memorable and help students learn at their own pace. To create effective educational videos, though, you need the right equipment and techniques. Keep the points mentioned here in mind to help you create educational content that will truly speak to your viewers.